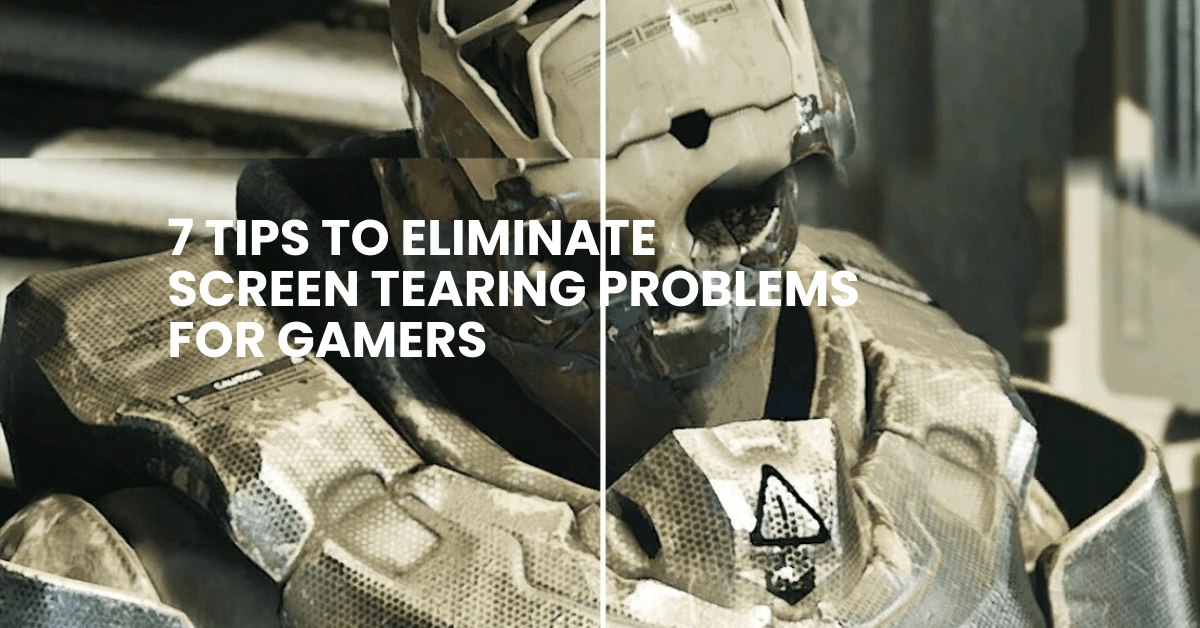
7 Tips to Eliminate Screen Tearing Problems for Gamers
Have you ever noticed the life of a gamer? The thrill of epic battles, the suspense of solving intricate puzzles, and the joy of leading your team to victory. But when you’re about to score that game-winning point, you notice something really off. The visuals stutter, and the seamless world you’re engrossed in suddenly split into pieces. Screen tearing has struck again! It feels like you’re trying to watch a show with someone flipping the channels.
But fret not, fellow gamer. This guide offers comprehensive solutions for your gaming woes, ensuring you have an immersive, tear-free experience. These 7 steps are easy to follow regardless of age or tech prowess.
Let’s dive right in!
What is Screen Tearing?
Screen tearing is a glitch on computer screens where visuals appear disjointed, like a torn image. It happens when the computer’s video output isn’t in sync with the screen’s refresh rate, causing a momentary “rip” in the display. This can be especially noticeable and cause disturbance during fast-paced videos or games.
Is It Possible To Fix the Screen Tearing?
Absolutely! Screen tearing can be a significant annoyance for gamers and multimedia enthusiasts. Fortunately, several methods are available to address and reduce this graphical glitch. This includes both software configurations and hardware upgrades. Some fixes involve adjusting settings in your operating system, game, or graphics card control panel, while others may require a hardware upgrade. The key is finding the best solution for your unique setup.
How To Fix Screen Tearing In Windows 11 for Gaming
Enable V-Sync Settings in Your Game
V-Sync, short for Vertical Sync, is like a mediator. Its job is to ensure your graphics card (the thing that makes your game look good) and your monitor (the screen you play on) work together perfectly. When they don’t, that’s when you get screen tearing. By using V-Sync, you ensure both the graphics card and the monitor show images at the same rate, making everything look smooth.
How to enable V-Sync?
- Start Your Game: Open the game you want to play.
- Dive into Settings: There will usually be a ‘Settings’ or ‘Options’ button on the main menu. Click on it.
- Graphics or Video Settings: There will be different sections inside the settings. Find one that says ‘Graphics’ or ‘Video’.
- Enable V-Sync: Here, you’ll see an option for V-Sync or Vertical Sync. Make sure it’s switched on.
Configure Windows 11 Graphics Settings
Windows 11 has graphics settings that can help.
Are you struggling with those weird screen disruptions when gaming or watching a video? We got your back. Windows 11 has added some fantastic settings that might be the solution. Here’s a simple step-by-step guide to sort that out:
Why Adjust Graphics Settings?
Graphics settings help your computer decide how best to show pictures, videos, and games. Sometimes, a little tweak can make a big difference!
How to Dial in the Perfect Graphics Settings on Windows 11:
- Access the Graphics Menu: Start by getting into the right place. Right-click anywhere on your desktop where there aren’t any icons. A menu pops up. From there, click on ‘Graphics settings.’ Easy, right?
- Choose Your Troublesome App: Now, you’ll see two types of applications: ‘Universal App’ and ‘Classic App’.
What are these?
- Universal App: These are modern apps, usually those you download from the Windows Store.
- Classic App: These are your traditional desktop apps.
Find the game or application where you’ve noticed the screen tearing. Click on it.
Boosting Performance:
After selecting the problematic game or application, you’ll see an ‘Options’ button below it. Click that. Now, you’ll see some choices about how the computer should handle this app. Set the graphics preference to ‘High Performance’. This tells your computer: “Hey, give this app all you’ve got!”
Once you’ve made these changes, click ‘Save’ or ‘Apply’ if the option’s there. Now, your chosen app or game should run more smoothly and (hopefully) without any of those pesky screen tears.
Remember, these settings are there to help you get the most out of your computer. But if you still face issues, there is nothing to worry about. There are plenty more tricks and tweaks out there. You’ll get that perfect viewing experience one step at a time.
Update Your Graphics Driver in Windows 11
An out-dated driver could be troublesome
Do you know a smooth-running graphics card can make all the difference in your digital world? But sometimes, an outdated graphics driver can be the sneaky culprit behind screen tearing and other visual glitches. Don’t worry; we’ve got an easy-to-follow guide to help you update your graphics driver on Windows 11, and it’s easier than you might think.
Why Update Your Graphics Driver?
Think of your graphics driver as a translator. It helps your computer and graphics card speak the same language. If this translator is outdated, things can get lost in translation, leading to visual issues. Updating ensures everyone’s on the same page, offering you the best performance and visuals.
Here’s How to Update Your Graphics Driver on Windows 11:
Accessing the Device Manager:
First things first, we need to get to where the action is.
- Right-click on the little Windows icon (the Start button) in the bottom-left corner of your screen.
- A menu will pop up. From this list, click on ‘Device Manager’. This is where Windows manages all the devices and their drivers on your computer.
Finding Your Graphics Card:
Once you’re inside the Device Manager:
- You’ll see a list of categories. One of them will be ‘Display adapters’. Click on the little arrow or triangle next to it. This expands the category, showing you what graphics card or cards you have.
- Now, right-click on the name of your graphics card. Depending on what’s inside your machine, it might be something like “NVIDIA GeForce GTX 1650” or “AMD Radeon RX 570”.
Time to Update:
After right-clicking on your graphics card’s name:
- A menu appears. One of the options will be ‘Update driver’. Click on that.
- Windows will then ask how you’d like to search for the drivers. For most people, the best choice is to let Windows search for it. So, pick the option that says, ‘Search automatically for updated driver software’.
- Sit back, relax, and let Windows do its thing. It will search for, download, and install the latest driver. If it finds one, just follow any on-screen instructions to finish up.
With those steps done, you’ve equipped your PC with the latest graphics translator, ensuring clearer and smoother visuals. Remember, keeping your drivers updated helps in more ways than just fixing screen tearing. It can also boost performance, improve features, and iron out any bugs. It’s your time to enjoy those crisp visuals!
Optimise Your Monitor’s Refresh Rate
Your monitor’s refresh rate should match your game’s frame rate
To all tech enthusiasts! Have you ever wondered why your games or videos sometimes look disjointed? Well, it could be because your monitor’s refresh rate isn’t in sync with your game’s frame rate. To help you with this, we’re here to guide you through the process of setting your monitor’s refresh rate on Windows 11 for a smoother visual experience.
Why Matching Refresh Rate Matters?
Your monitor’s refresh rate is like its heartbeat. It dictates how many images it can display in a second. You might see those annoying stutters if this rate doesn’t match your game’s frame rate.
Here’s How to Get It Right:
- Right-Click to Start: Begin by right-clicking anywhere on your desktop. A context menu will pop up, giving you access to various settings.
- Navigate to Display Settings: From that menu, choose ‘Display settings.’ It’s like opening the door to a room filled with monitor-related options.
- Access Advanced Display Settings: Once in the Display settings, scroll down and click ‘Advanced display settings.’ Think of this as the VIP section, where you can fine-tune your display preferences.
- Adjust the Refresh Rate: In the Advanced display settings look for ‘Refresh rate.’ Click on the dropdown menu, and you’ll see a list of available options.
- Select the Highest Value: Your aim here is to choose the highest refresh rate your monitor can handle. This ensures it’s ready to display as many images as your game throws. Click on the value that suits your monitor’s capabilities.
Now, by matching your monitor’s refresh rate to your game’s frame rate, you’re creating a harmonious partnership that will result in smoother, tear-free visuals. It’s like tuning your car’s engine for peak performance. So go ahead and enjoy your games and videos as they were meant to be experienced without those distracting hiccups.
Optimising In-Game Settings
Most of the time, optimising in-game settings can help
We have some pro tips for optimising your in-game settings to get that buttery-smooth experience.
Why Optimise In-Game Settings?
Games have many graphics settings to make them look stunning, but sometimes, these settings can be too demanding for your computer. Optimising them can help maintain a stable frame rate and reduce screen tearing.
Here’s How to Do It:
Reduce Graphics Settings or Resolution:
This is where you can make the most significant difference. Look for graphics or display settings in your game’s settings (usually found in the main menu or options). You’ll often see options like ‘Low,’ ‘Medium,’ ‘High,’ or even custom settings where you can adjust individual graphic elements. To reduce the load on your computer, select a lower setting. You can also decrease the game’s resolution, but be careful not to go too low, as it might make everything look pixelated.
Turn Off Unnecessary Features/Effects:
Games love to dazzle you with fancy effects and features, but unfortunately, not all of them are necessary for a great gaming experience. Look for settings like:
- Anti-Aliasing: It smooths out jagged edges on objects but can be resource-intensive. You might notice little difference at lower settings.
- Shadows: Reducing the quality or turning shadows off can significantly improve performance.
- Texture Detail: Lowering this can greatly impact your game’s performance.
- Particle Effects: Fancy explosions and magical effects have great aesthetics but can also slow things down. Try reducing or turning them off.
As a result, by implementing these in-game settings, you’re essentially telling your game to go easy on your computer’s resources. Experience the most seamless visuals by now.
Check Graphics Card Using Control Panels
For NVIDIA and AMD cards
Regarding gaming, your graphics card holds a lot of power. But sometimes, it needs a little guidance. Let’s explore how you can optimise your NVIDIA or AMD graphics card using their control panels to enhance your gaming experience.
Why Use the Graphics Card Control Panel?
These control panels are like your graphics card’s personal command centres. They allow you to fine-tune settings to get the best game performance and visuals.
Here’s How to Do It:
For NVIDIA Users:
- Right-click on the Desktop: Begin by right-clicking anywhere on your desktop. This opens up a menu of options.
- Select NVIDIA Control Panel: From the menu, look for ‘NVIDIA Control Panel’ and click on it. This is where the magic happens.
- Navigate to ‘Manage 3D Settings’: Inside the NVIDIA Control Panel, you’ll find a bunch of tabs and options. Look for ‘Manage 3D settings’ and click on it.
- Enable V-Sync: Within ‘Manage 3D settings,’ you’ll see various options you can tweak. To combat screen tearing, look for ‘Vertical sync’ or ‘V-Sync’ and enable it.
For AMD Users (Radeon Settings):
- Right-Click on the Desktop: Like with NVIDIA, right-click anywhere on your desktop.
- Select AMD Radeon Settings: Find ‘AMD Radeon Settings’ in the menu and give it a click. This is where you’ll fine-tune your AMD graphics card.
- Navigate to ‘Gaming’: Inside Radeon Settings, you’ll find various tabs. Look for ‘Gaming’ and click on it.
- Enable V-Sync: You’ll see a list of your installed games under the’ Gaming’ tab. Select the game you want to adjust, and within its settings, find ‘Wait for Vertical Refresh’ or ‘V-Sync’ and turn it on.
By enabling V-Sync in your graphics card’s control panel, you’re ensuring that your graphics card and monitor are on the same page, reducing screen tearing and delivering smoother gameplay. It’s like having a personal game optimiser right at your fingertips. Enjoy your tear-free gaming experience!
Consider Hardware Upgrades
Higher refresh rates and adaptive sync technologies like G-SYNC or FreeSync.
If you’ve tried all the tips and tricks to eliminate screen tearing on your current setup and it’s still giving you trouble, consider a hardware upgrade. Don’t worry; it’s more manageable than it sounds. Let’s dive into why and how you can upgrade your monitor or graphics card for a tear-free gaming paradise.
When to Consider Hardware Upgrades:
So, you’ve optimised your settings, updated your drivers, and even tweaked your graphics card control panel, but that pesky screen tearing won’t go away. Here are some signs that it might be time to think about an upgrade:
- Your current hardware is getting on in years.
- You’re playing the latest, most graphics-intensive games.
- You’ve tried all the software fixes, and nothing seems to work.
Upgrading Your Monitor:
A new monitor can make a world of difference. Look for these features:
- Higher Refresh Rate: Monitors with refresh rates of 120Hz, 144Hz, or even 240Hz are excellent choices for tear-free gaming. The higher the refresh rate, the smoother your games will look.
- Adaptive Sync Technology: Monitors that support technologies like G-SYNC (for NVIDIA users) or FreeSync (for AMD users) sync up with your graphics card, virtually eliminating screen tearing. This is like having a guardian angel for your gaming experience.
Upgrading Your Graphics Card:
A more powerful graphics card can also work wonders:
- Increased Performance: A newer graphics card can easily handle the latest games, providing higher frame rates and less screen tearing.
- Compatibility: Some graphics cards are better suited for high refresh rate monitors and adaptive sync technologies. Make sure your new card matches your monitor’s capabilities.
Budget Considerations:
Of course, upgrades can be an investment, so it’s essential to consider your budget. Look for hardware that offers the best value for your specific needs.
Upgrading your monitor or graphics card might seem like a big step, but it’s a game-changer to deliver that seamless, tear-free gaming experience you’ve been dreaming of. So, if all else fails, don’t hesitate to explore these hardware options and level up your gaming setup!
Final Verdict:
In the world of Windows 11 gaming, screen tearing can be quite annoying. But with our tips, it’s a challenge we’ve overcome. Whether through V-Sync, graphics tweaks, or better hardware, you now have the tools for a smoother gaming experience. So, as you venture into your digital worlds, remember these solutions; your gaming experience deserves nothing less than perfection.
However, it’s crucial to remember that every game and system configuration is unique. What works wonders for one gamer might not be the perfect solution for another. It’s always a good idea to experiment with different settings to find the optimal configuration for your specific setup.
Happy tear-free gaming!