How to overclock a GPU to boost gaming experience
Have you ever imagined the stutter in your games ruining those epic gaming moments? How about turning those stutters into seamless, butter-smooth transitions with a simple tweak? Overclocking your GPU can transform your gaming experience, ensuring you strive for subpar performance always. Beyond mere overclocking, optimizing software can be a golden choice to speed up and supercharge your rig into a gaming beast. Dive deep with us into the overclocking world, and let’s push your GPU to its peak performance. Your favourite games deserve nothing but the best.
Are you curious to know more about it? Keep reading to unlock the ultimate gaming experience.
Why Should You Overclock?
For all the gamers out there, every frame per second (FPS) counts. In competitive games, having a higher FPS can sometimes make the difference between victory and defeat. Overclocking helps improve the performance of your hardware beyond its factory settings, which means better graphics and smoother gameplay. In a survey by Steam Hardware, it was found that more than 30% of gamers have shown interest in boosting their system’s performance through methods like overclocking.
What’s the Buzz About Overclocking?
Understanding Overclocking
Overclocking is the process of increasing the operating speed of computer components, primarily the GPU (Graphics Processing Unit) and CPU (Central Processing Unit). This helps the components process data faster, enhancing overall system performance.
Step 1: Overclocking GPU Step-by-step Instructions: Boosting the Gaming Graphics
Overclocking your GPU can provide a significant performance boost, especially in graphically demanding tasks such as gaming. However, it’s vital to approach the process with caution to prevent potential damage. Here’s a detailed step-by-step guide:
1. Preparations:
Backup: Ensure you’ve backed up essential data.
System Updates: Update your GPU drivers to the latest version.
Research: Understand the default and potential clock speeds of your specific GPU model. Online forums and user experiences can be a valuable resource.
2. Choose an Overclocking Tool:
Here’s a look at some of the most popular software that seasoned overclockers often turn to:
MSI Afterburner: A favourite for many, it’s known for its user-friendliness and robust features. Ideal for both newcomers and experts.
EVGA Precision X1: Designed primarily for NVIDIA graphics cards, this tool combines power with real-time monitoring, ensuring you’re always in control.
ASUS GPU Tweak II: Perfect for ASUS enthusiasts, it offers a blend of performance and stability, ensuring your GPU operates at its peak.
3. Monitor Temperatures:
Overclocking heats things up. To ensure your GPU doesn’t get too hot under the collar, it’s crucial to track its temperature. Here are a couple of easy-to-use tools:
HWMonitor: A straightforward tool that gives you a clear picture of how warm your GPU is running.
GPU-Z: Not only checks temperatures but offers a deep dive into your GPU’s health.
Always remember, while chasing performance, don’t let your GPU overheat. Keeping it cool ensures longevity and smooth gameplay. Happy tuning!
4. Establish a Baseline:
Before embarking on the overclocking journey, it’s akin to measuring the water depth before diving in. Getting a sense of your GPU’s default performance is essential. Here’s how:
Use Benchmark Tools: Kick things off with programs like Unigine Heaven or 3DMark. They’re designed to push your GPU and give you a clear snapshot of its current prowess.
Record the Details: Don’t just look at the scores; write them down. Capture both the performance metrics and the temperatures. This isn’t just numbers; it’s your GPU’s diary of how it feels most relaxed.
Understand the Numbers: Familiarize yourself with these baseline stats. They’ll serve as your comparison point, helping you gauge how much of a boost your tuning efforts yield.
5. Start Overclocking:
So, you’re ready to give your GPU a little boost? Let’s break it down simply:
Core Clock Boost: Start with the heart of your GPU. Add a bit more speed to the core, say, 5-10% more than what it’s currently at. This is like giving your car a bit more gas.
Memory Clock Uplift: After the core is set, shift your focus to the memory. Just like before, a slight increase of 5-10% should be a good beginning.
Remember, it’s like adding a bit more speed to your bicycle’s pedals. Keep an eye on how things feel, ensure everything runs smooth, and soon, you’ll notice your games running better and smoother!
6. Stability Testing:
You’ve tweaked your GPU settings, but how can you be sure everything’s playing nice? Follow these easy checks:
Benchmark Checks: Every time you change a setting, give it a test run with your benchmark tool. It’s like measuring your car’s speed after tuning the engine — you want to ensure things are zippier.
Temperature Watch: Always have an eye on those heat levels. If it’s getting too hot, it’s a sign to pull back a little. Think of it as ensuring your engine doesn’t overheat after pushing it harder.
Visual and Performance Alerts: Notice any odd visuals on your screen? Or perhaps your games suddenly freeze? These could be warning bells. It’s akin to listening for weird noises in a car; they often indicate warning signals,
7. Adjusting the Voltage (Optional & with caution):
If you hit a wall with your overclock and experience instability:
Slightly increase the GPU voltage to provide more power.
Note: Increasing voltage can significantly raise temperatures. Ensure you’re well below the GPU’s maximum temperature threshold.
8. Fine-tuning & Testing:
- Continue adjusting in small increments and testing until you find the highest stable overclock.
- Each time you find a stable setting, run a long stability test (1-2 hours) to ensure prolonged usage won’t cause issues.
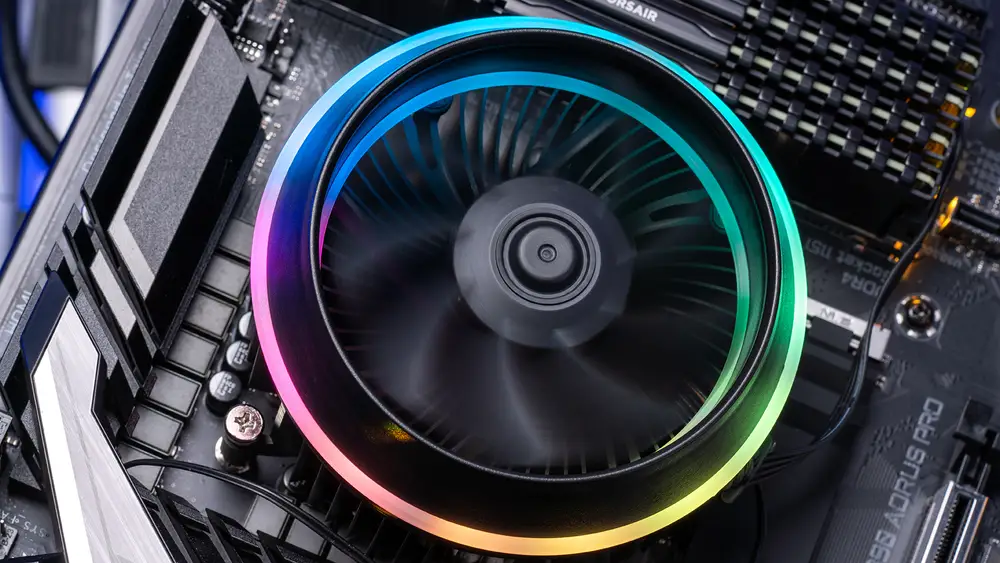
9. Adjusting the Fan Curve:
- To keep temperatures in check, adjust the fan curve using your overclocking tool to increase fan speed at higher temperatures.
10. Finalize and Save Your Profile:
Once you are satisfied, follow the additional steps
- Save your overclock settings as a profile in your overclocking tool.
- Keep monitoring temperatures during regular usage for a few days to ensure long-term stability.
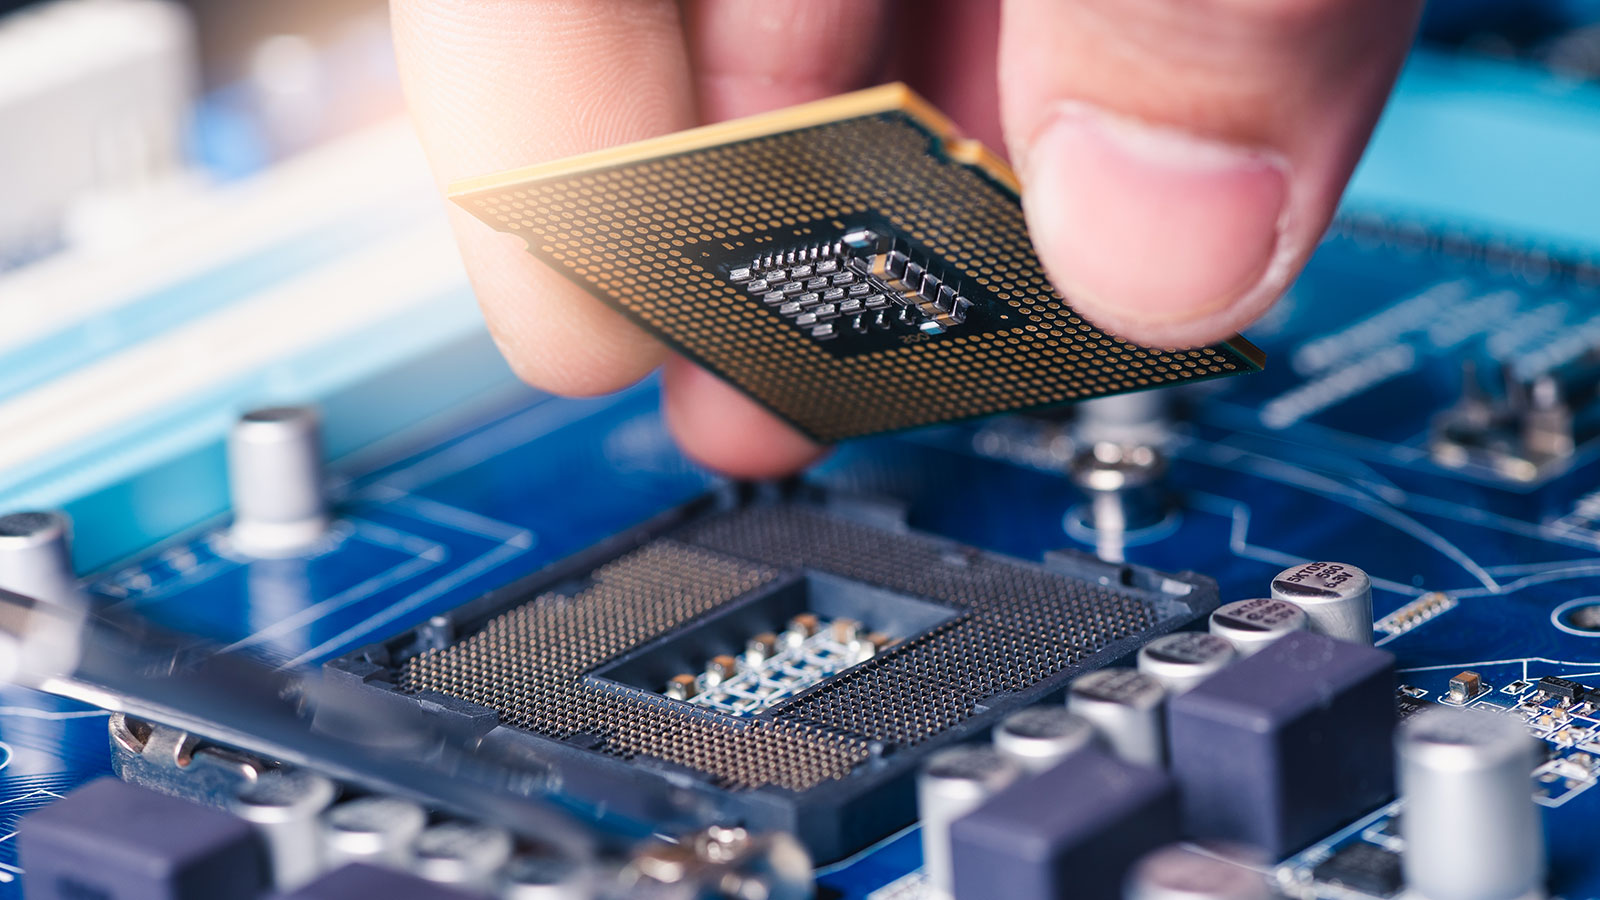
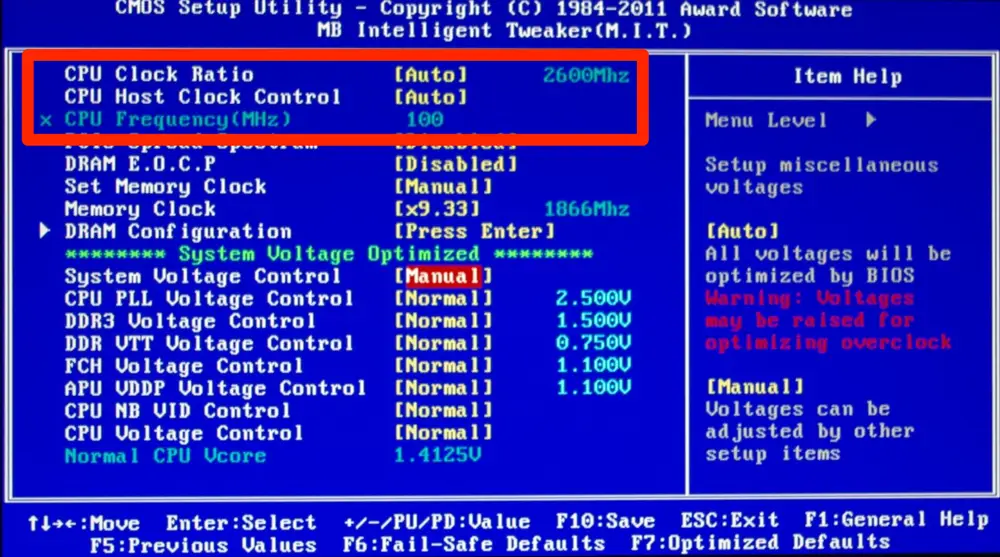
Step 2: Overclocking CPU: The Gaming Brainpower

You often hear about the GPU being the heart of gaming, but let’s not forget the unsung hero: the CPU. Think of the CPU as the brain directing all those beautiful graphics the GPU pumps out. And when you overclock that brain? Well, games can run faster, smoother, and more reliably. Here’s a simple guide on safely enhancing your CPU’s power.
Warm-Up Time:
First, let’s set the temperature limit to its highest. This means your GPU can get a bit warmer without slowing down. Next, add 10% to the Power Limit. This gives us some extra room as we boost our GPU’s speed.
The First Step:
Slide the GPU clock setting right by +50 MHz and hit that ‘OK’ button. Don’t fret! In most cases, a bump between 5-50 MHz is like a light jog for your GPU – it shouldn’t break a sweat. But if your GPU acts up, it might hint that its overclocking days are behind it. It’s probably time for a fresh upgrade.
Time for a Quick Test:
It’s like checking your food while cooking. Use tools like 3DMark or Unigine Valley to see how your GPU is doing. If everything looks good with no odd picture changes or sudden stops, then we’re doing well!
Clocking More Speed:
It’s all about taking small steps. Boost the clock speed up in little 10 MHz jumps. And hit ‘OK’.
Testing, Testing, and More Testing:
After every boost, test to see if it’s working fine. If things are smooth, add another 10 MHz. But if something goes wrong, like a game stopping or your computer restarting, you’ve found the top speed.
Play it Safe:
Now, let’s be careful. Take away 10 MHz from the speed. This is like giving your GPU a little rest space.
Step 3: Boosting Your Memory for Better Performance
Your GPU’s memory, often called Video RAM or VRAM, is like the quick-thinking part of your brain. It’s crucial for storing and quickly accessing the visuals of your games, especially those rich in textures. Giving it a little boost can make a world of difference in how your games feel and perform.
For many GPUs, you can comfortably raise the memory speed by about 10-15%. This can lead to a big jump in performance for games that lean heavily on VRAM. In a nutshell, while overclocking your VRAM can offer some sweet performance gains, it’s all about finding that sweet spot and a perfect balance.
Here’s a simple way to approach this:
Start Slowly: Just as with our GPU clock, it’s always good to start off gently. Begin by nudging up the memory speed in small 50 MHz boosts.
Climb Steadily: Keep increasing the speed in those 50 MHz chunks. This lets you closely monitor how each increase affects your system.
Keep an Eye Out: Different games have their own quirks. While some might revel in your newly boosted VRAM and run like the wind, others might start showing weird visual glitches called artefacts. It’s a sign they could be happier with the extra speed.
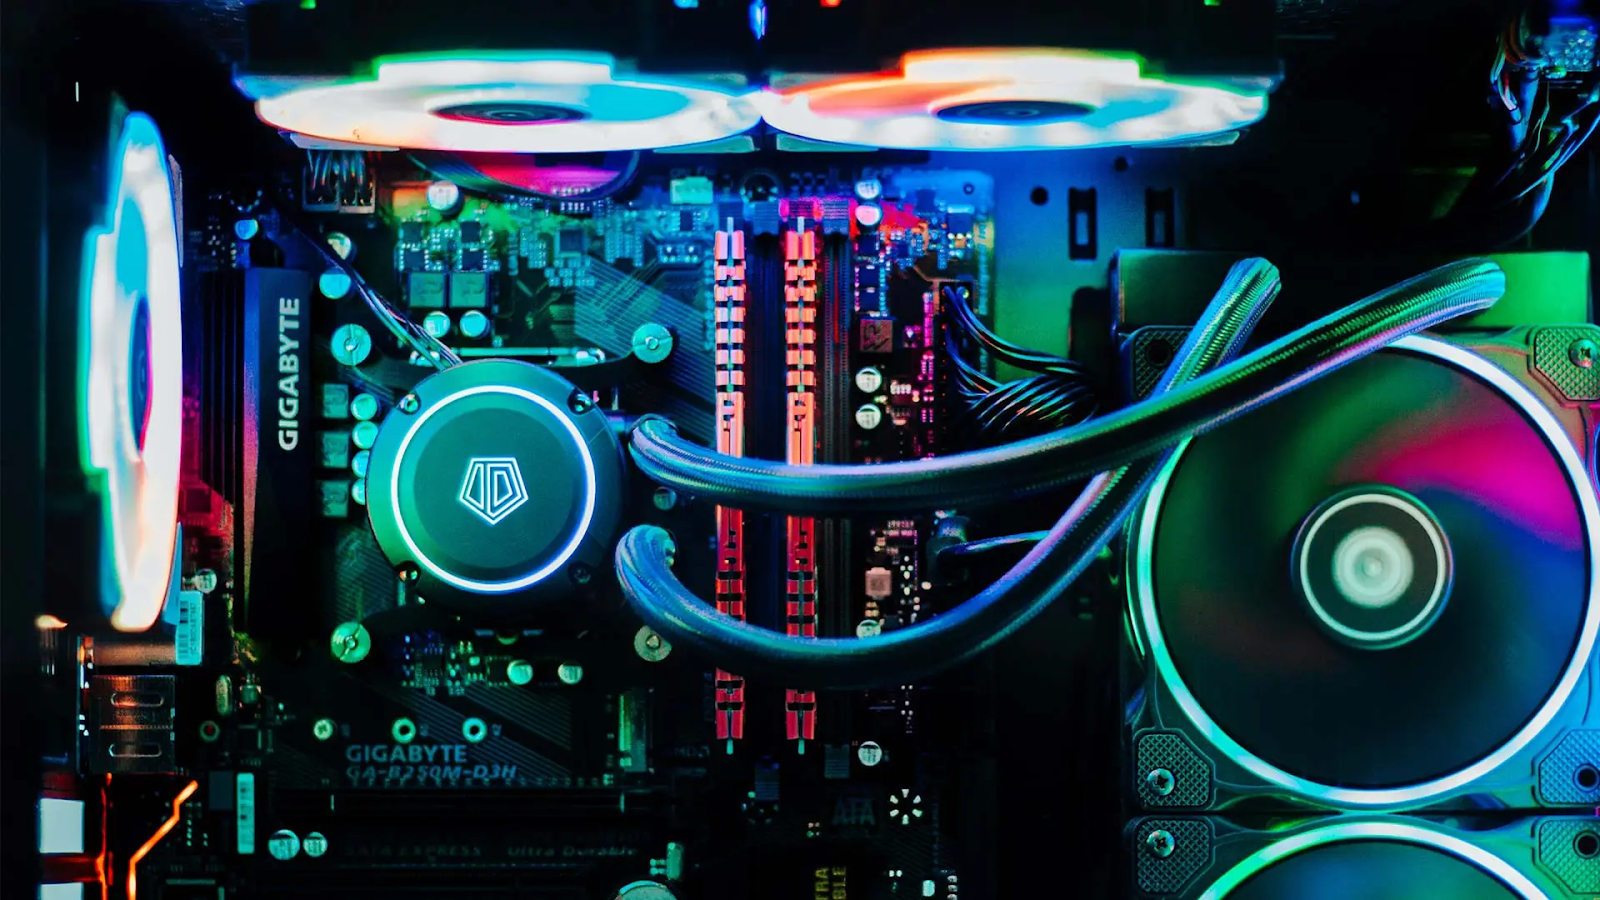
Step 4: Turning Up the Power and Heat Limits for a superior gaming performance:

If you’re on a quest to supercharge your gaming sessions, adjusting the power and temperature limits of your GPU can be a game-changer. Here’s how to make the most out of your hardware without causing it to break a sweat.
Understanding the Basics:
Your GPU has certain built-in limits to prevent it from overheating or consuming too much power. By adjusting these limits, you can potentially bring out more performance for that ultra-smooth gaming experience.
Hitting the Ceiling? No Problem:
Perhaps you’ve tried boosting your GPU and VRAM speeds and feel like you’ve done all the steps gracefully. It’s now time to adjust the power and temperature thresholds safely. By giving them a nudge, you’re essentially giving your GPU a safer place to work amazingly.
How to Proceed:
First, set the power and temperature limits to their maximum. This move provides your GPU with more flexibility to operate at higher speeds.
A Word of Caution:
While this step can indeed help you extract more everything from your GPU, it might also make your machine a bit noisier. That’s the sound of your GPU’s fans working overtime to keep things cool.
Why This Matters for Gaming:
Higher clock speeds generally translate to better game performance, whether higher FPS or smoother graphics. By giving your GPU the room to function at higher temperatures and power levels, you’re potentially allowing it to reach those higher clock speeds, making your games run better and smoother.
Remember, Every GPU is Unique:
You might wonder if there’s a one-size-fits-all guide out there. But the reality is that each GPU is a unique blend of silicon and circuits. They might look the same, but deep down, they all have their own quirks and characteristics.
Is overclocking GPU safe
Like all things in life, overclocking comes with its set of risks and rewards. While the apparent rewards are better performance and enhanced gaming experience, potential risks include reduced hardware lifespan and voided warranties. Always proceed with caution and gather adequate knowledge before making any changes.
Real-life Scenario: Overclocking Success
Jake, an avid gamer, was frustrated with his system’s lag in heavy games. After researching, he decided to overclock both his GPU and CPU. Using the above mentioned methods, he successfully boosted his FPS by 15%, turning his gaming sessions into buttery-smooth experiences. This real-life example demonstrates the tangible benefits of overclocking when done right.
Benefits of Overclocking to Boost Gaming Experience
Overclocking, in essence, is the act of pushing your hardware beyond its factory-set limits to achieve better performance. While often associated with gaming enthusiasts and seasoned tech experts, anyone keen on improving their gaming experience might consider giving it a try. Here are the top benefits of overclocking in the context of gaming:
Enhanced Frame Rates:
Overclocking your GPU and CPU can result in higher frame rates in games. This means smoother gameplay, especially in graphic-intensive games that tend to push your hardware to its limits.
Better Graphics Quality:
With an overclocked system, you can crank up the graphics settings a notch or two. This can lead to richer textures, better lighting, and more detailed environments, enhancing the visual appeal and immersion.
Reduced Lag in Intense Scenarios:
During graphically intense moments, such as large explosions or crowded scenes, an overclocked system can offer more stability, reducing the chances of game lags or stutters.
Better VR Performance:
Virtual Reality gaming demands high frame rates and consistency for a smooth and immersive experience. Overclocking can ensure that VR games run without hitches, providing a more enjoyable and nausea-free experience.
Improved Multi-tasking:
For gamers who like to stream, record their gameplay, or run other applications simultaneously, an overclocked CPU can handle multiple tasks more effectively, ensuring none of the running applications suffers.
Cost-Efficiency:
Instead of spending money immediately on new hardware when performance starts to lag, overclocking can provide a temporary boost, allowing gamers to extend the life of their current components.
How Much Should I Overclock My GPU?
This question is known as the golden question for many of the users. Determining the right amount to overclock your GPU requires a balance between pursuing enhanced performance and ensuring the longevity and safety of your hardware. Each GPU, even within the same model, will have its unique threshold.
Start by understanding the base clock speed of your GPU. From there, a conservative approach is recommended. Initiate with an increase of 5% over the default clock speed. Monitor the GPU’s temperature, stability, and performance. If all parameters appear normal and the system remains stable, you can consider further increments.
However, it’s crucial not to push too aggressively. Overclocking by 20-25% or above the default settings might deliver noticeable performance improvements but can also risk the hardware’s health. Regularly utilize stress-testing tools to ensure the GPU remains stable at elevated clock speeds.
Always remember, while the goal is enhanced performance, the safety and durability of the GPU should never be compromised. It’s recommended to consult user experiences, forums, and specific benchmarks for your GPU model to gain insights into potential overclocking limits.
Wrapping up:
Boosting your gaming experience is something many of us dream of. And guess what? Overclocking is one way to turn that dream into reality. We’ve walked you through the steps on how to overclock a GPU, touching on all the dos and don’ts. By doing this, games can look better and run smoother. Plus, your old gear can feel new again.
But always remember: Go slow. Test things out. And make sure everything stays cool.
So, are you ready to give your games that extra kick? Or maybe you’re curious about what else you can do to get even more from your computer? Dive in, explore, and happy gaming!
Now, a question to leave you with: How will you make the most of your enhanced gaming experience?